Marimo Notebooks
Marimo is a Python notebook tool. Unlike Jupyter, marimo notebooks are stored as plain Python files and automatically re-run dependent cells when a cell changes. Marimo has integrated AI chat and agent tools that can be configured to use models through the DREAMLab AI gateway.
Creating the workspace
Create a new workspace using the “New Workspace” form. A default workspace is sufficient for installing Marimo. You don’t need to select any of the optional settings (RStudio, VS Code etc).
Installing Marimo
Once the workspace has booted, open a Terminal window from the workspace dashboard. Run the following commands (“#...” lines are comments):
# create a project folder and set it as your working directory
mkdir my-project
cd my-project

# create a python virtual environment for the project with uv
uv venv

# install marimo in the project
uv pip install marimo

# run this marimo server
uv run marimo edit --no-token --headless
The last command runs the Marimo server in the context of the Terminal window. (To quit the server, use ctrl+c or just close the Terminal window. For now, keep it running.)
Running Marimo in the Background
Instead of starting Marimo directly with uv run marimo, you may prefer to run Marimo in the background to prevent the server from stopping when you close the Terminal window. You can use tmux to run Marimo in a persistent terminal session:
# run at workspace startup
cd ~/my-project
tmux new-session -d -s marimo 'uv run marimo edit --no-token --headless'
Run these commands each time the workspace starts to start the Marimo server. To quit the server:
# quit the marimo server session
tmux kill-session -t marimo
Marimo Interface
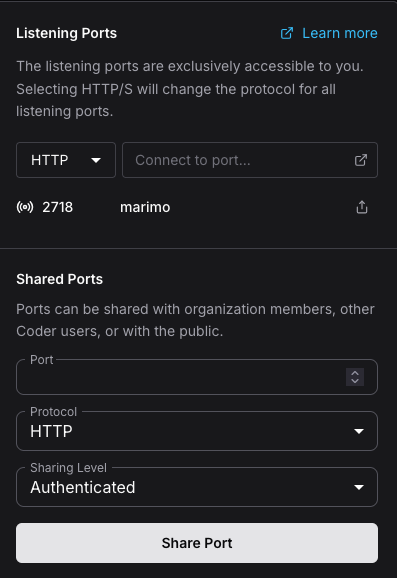
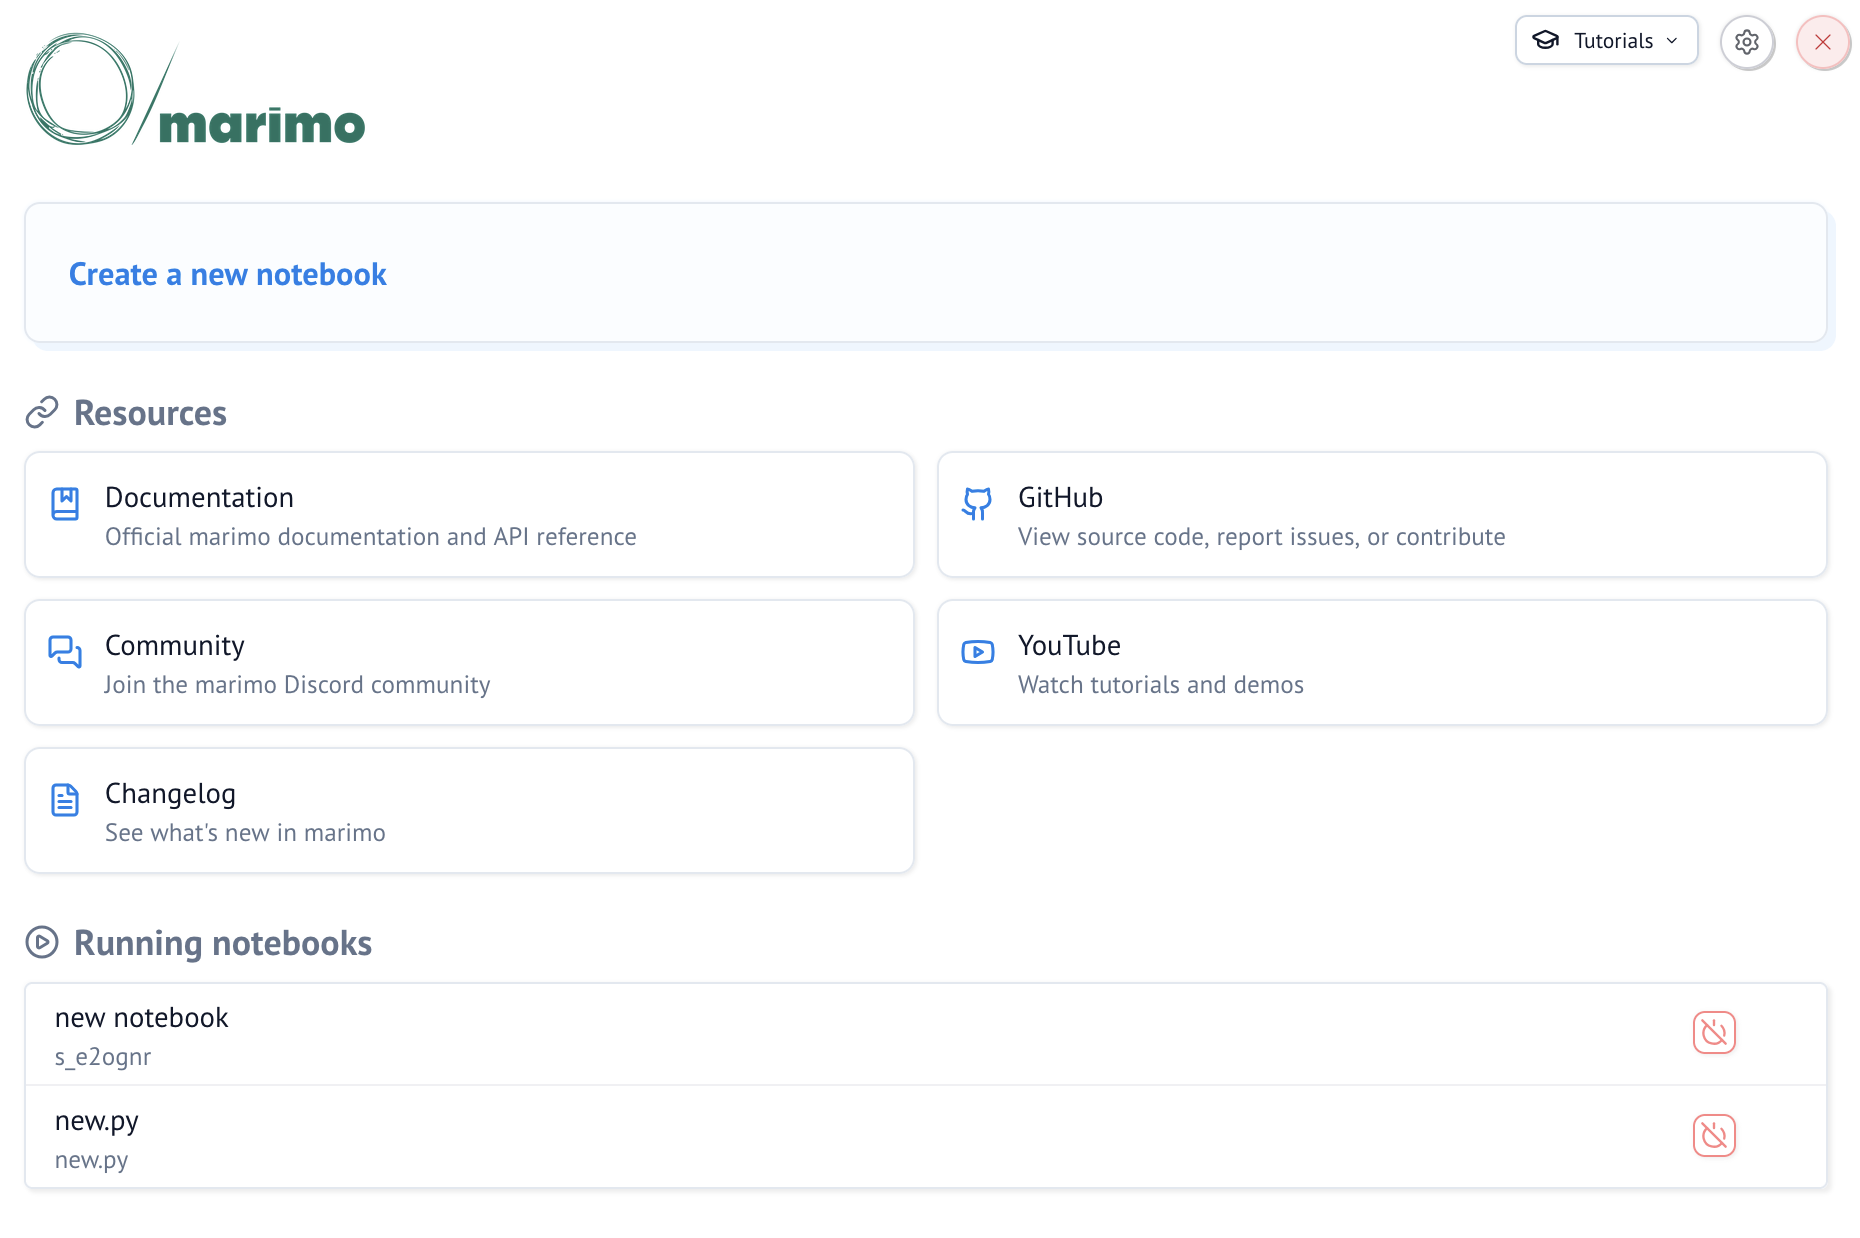
With the Marimo server running, you can access the Marimo UI using the “port” menu from the coder workspace dashboard. Click the port associated with “marimo” server.
From the Marimo dashboard, you can create a new notebook, which will be saved in your project folder.
Configuring Chat and Agents
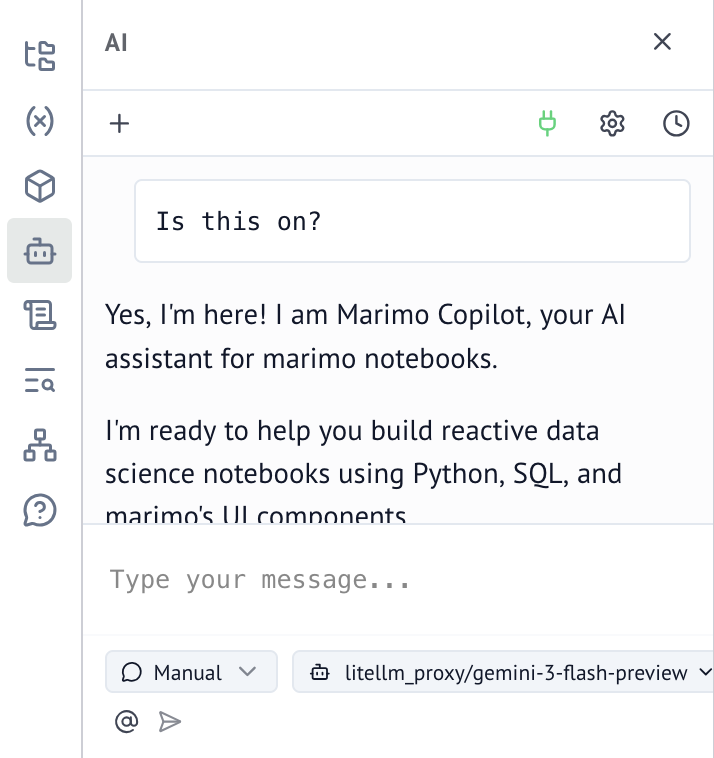
Marimo has integrated AI chat and agent tools, which you can access through Chat and Agents icon on the notebook menu. The AI features are configured through the AI panel in the User Settings window. To open User Settings, click the gear icon in the top-right corner and then click User settings.
The AI integration has two parts: a panel on the left side with a chat interface and a Generate with AI button in the main notebook area that lets you enter a prompt to generate code for a new cell.
You can configure your Marimo notebook to use AI models through the DREAM Lab AI gateway. For this to work, you need to:
- Request a personal API key for the AI gateway.
- Configure the notebook using the steps below.
1. Install AI Dependencies
From the Optional Dependencies panel in the user settings, make sure AI features are installed. If not, click the Install with uv button.
2. Add a Custom AI Provider
From the AI panel in the user settings, go to the AI Providers tab and click Add Provider. Fill in the following:
- Provider name:
litellm_proxy - Base URL:
https://litellm.dreamlab.ucsb.edu - API key: your personal API key
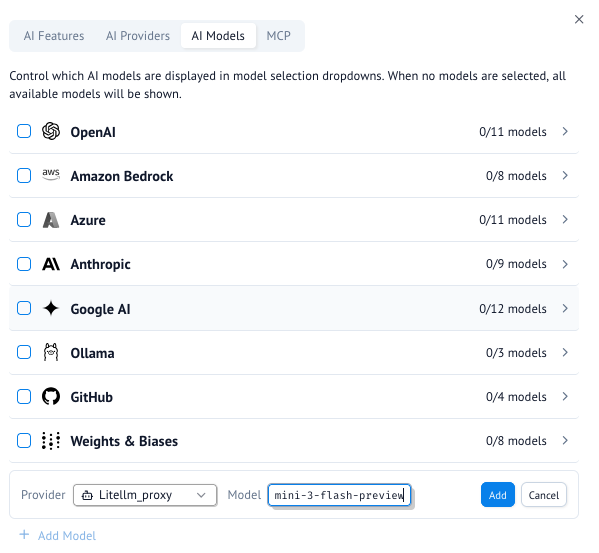
3. Add a Model
Go to the AI Models tab and click + Add Model at the bottom of the dialog. Select litellm_proxy as the provider and enter the model name. We recommend gemini-3-flash-preview. Click Add.
4. Configure AI Features to Use the Model
Go to the AI Features tab. Under Code Completion, set the Provider to custom and select your model from the Autocomplete Model dropdown. Under AI Assistant, set the Chat Model and Edit Model to your model as well.
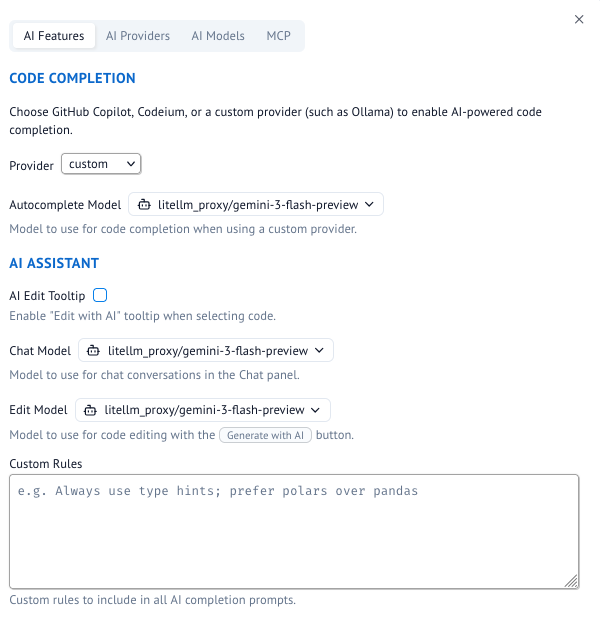
5. Confirm Settings
Close User settings, and open the Chat and Agents UI from the notebook menu. You should see a chat interface.